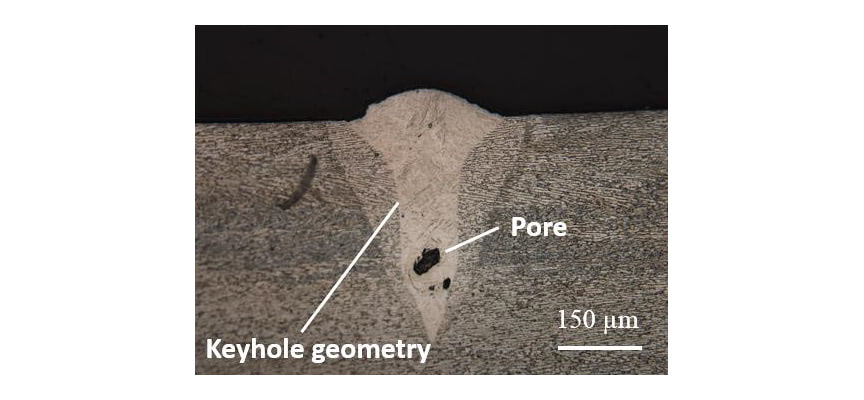
Porosity and other defects are a problem where it comes to parts printed with metal powder bed fusion processes.
One team of researchers from the U.S. Department of Energy’s Argonne National Laboratory, and Texas A&M University have published their findings which may play a part in reducing these subsurface defects.
The team has figured out a novel way of monitoring the formation of porosity as well as measuring the temperature of a region at the very moment of printing of Ti-6Al-4V powder.
Specifically, the researchers were interested in observing the formation of keyhole pores, which are formed when a surplus of energy is concentrated in the metal melt pool for too long. These pores can act as stress concentrators in the final part’s structure, leading to part unpredictability under load, and potential failures.
By use of a top-down high speed thermal camera in the build area of the laser fusion printer they are able to log the exact temperature at a certain time during printing, and correlate that with additional scans from synchrotron x-ray imaging taken at the exact same moment. This helps to build a picture of how the thermal history of the fused part affects the microstructure of the printed metal.
The X-ray equipment was located at Argonne’s Advanced Photon Source (APS), home of one of the most powerful X-ray sources in the world.
Why the need for fast imaging?
The formation of these pores of interest are random, and as they are formed they can trap inert gases from the printer within the pores, forcing instability of the pore. To this end, capturing this data with external measurements has been elusive until recent developments of in-situ monitoring.
To draw correlations between the thermal history and other parameters gathered in-situ, the team employs machine learning to churn through the data and identify statistically significant responses from their experiments.
The main focus of the paper is indeed this machine learning methodology, and the team has presented four statistical machine-learning models that correlate temperature histories to subsurface porosity formation.
The end results of the experiments, in addition to providing new machine learning methods for prediction of defects, have also demonstrated that there is indeed a correlation between surface temperature and subsurface pore formation.
“Having the top and side views at the same time is really powerful. With the side view, which is what is truly unique here with the APS setup, we could see that under certain processing conditions based on different time and temperature combinations porosity forms as the laser passes over,”said Noah Paulson, lead author of the research paper.
With this process, it may be possible to correlate the super-sensitive X-ray readings from the APS with the readily available thermal readings from everyday metal printers, and thus help on the spot flaw detection, as it happens, on the shop floor.
This is important, as current methods of defect detection generally requires detailed examination of the part after it has been printed. And once it has been printed with a defect, there is nothing anybody can do about it.
“Ultimately you would be able to print something and collect temperature data at the source and you could see if there were some abnormalities, and then fix them or start over,” said Aaron Greco, group manager at Argonne’s Interfacial Mechanics & Materials group in the Applied Materials Division (AMD)
“Right now, there’s a risk associated with 3D printing errors, so that means there’s a cost. That cost is inhibiting the widespread adoption of this technology,” he continued.
“To realize its full potential, we need to lower the risk to lower the cost.”
Are we going to see AI-fault detection in 3D printing in future?
If we wish to have the repeatability and predictability of machined or wrought parts, then it may indeed be a step in the right direction.

 亞洲大學3D列印研究中心

